Mastering Precision: A Comprehensive Guide to Nondestructive Dodging and Burning in Photoshop

Introduction:
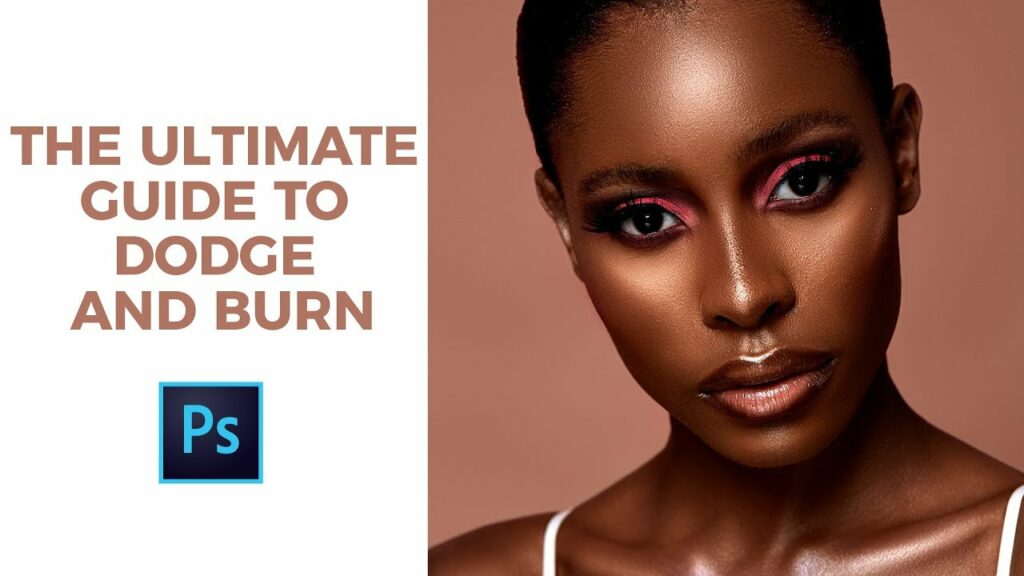
Dodging and burning have long been essential techniques in photography and digital art, allowing artists to selectively lighten (dodge) or darken (burn) specific areas of an image to enhance details, control contrast, and create a more nuanced and polished composition. In this extensive guide, we will explore the art of dodging and burning in Photoshop with a focus on nondestructive methods. By employing nondestructive techniques, artists can refine their images with precision, maintain flexibility in editing, and preserve the integrity of the original photograph.
Understanding Dodging and Burning:
Dodging and burning originated in the darkroom during the days of film photography, where photographers used manual techniques to selectively control exposure during the printing process. In the digital era, these techniques have evolved within software like Adobe Photoshop, offering unprecedented control and precision. Dodging involves lightening specific areas, while burning darkens others, allowing for intricate adjustments that elevate the visual impact of an image.
Step 1: Open Image and Duplicate Layer
Begin by opening your image in Photoshop. To ensure a nondestructive workflow, duplicate the background layer by pressing Ctrl+J (Cmd+J on Mac). This duplicated layer will serve as the starting point for your dodging and burning adjustments, leaving the original image untouched.
Step 2: Create New Layer for Dodging
With the duplicated layer selected, create a new layer by clicking the “New Layer” icon at the bottom of the Layers panel or pressing Ctrl+Shift+N (Cmd+Shift+N on Mac). Name this layer “Dodging” to maintain organization.
Step 3: Set Blend Mode to Overlay
Change the blend mode of the “Dodging” layer to Overlay. Overlay blend mode enhances the contrast between light and dark tones, making it an ideal choice for dodging, which involves lightening specific areas of the image.
Step 4: Use the Brush Tool for Dodging
Select the Brush tool (B) and set the foreground color to white. Adjust the brush opacity and flow settings based on your preference – lower opacity and flow allow for gradual buildup, providing more control over the dodging effect.
Paint with the white brush on the “Dodging” layer over areas you want to lighten. This could include highlights, facial features, or any part of the image you wish to bring forward.
Step 5: Create New Layer for Burning
Repeat the process to create a new layer named “Burning.” This layer will be used for darkening specific areas of the image.
Step 6: Set Blend Mode to Overlay
As with the “Dodging” layer, change the blend mode of the “Burning” layer to Overlay. Overlay blend mode enhances contrast and is well-suited for darkening areas in the burning process.
Step 7: Use the Brush Tool for Burning
Switch the foreground color to black and use the Brush tool to paint on the “Burning” layer. Focus on areas you want to darken, such as shadows, contours, or parts of the image you wish to push into the background.
Step 8: Adjust Layer Opacity for Subtlety
To control the intensity of your dodging and burning adjustments, adjust the opacity of the “Dodging” and “Burning” layers. Lower opacity levels allow for subtler effects, while higher opacity increases the impact of your adjustments.
Step 9: Group Layers for Organization
To keep your dodging and burning layers organized, select both the “Dodging” and “Burning” layers and press Ctrl+G (Cmd+G on Mac) to create a layer group. Name the group “Dodging and Burning” for clarity.
Step 10: Fine-Tune with Layer Masks
For additional control, add layer masks to the “Dodging and Burning” group. Use a soft brush to selectively reveal or conceal the effects of dodging and burning in specific areas of the image. This step allows for precise adjustments and refinement.
Step 11: Save as PSD for Future Editing
As a final step, consider saving your project as a Photoshop Document (PSD). PSD files preserve layers and enable nondestructive editing in the future, ensuring you can revisit and refine your dodging and burning adjustments.
Conclusion:
Dodging and burning in Photoshop, when approached with a nondestructive mindset, empowers artists to sculpt their images with precision and finesse. By utilizing separate layers, blend modes, and layer masks, you can achieve nuanced adjustments that enhance the visual impact of your photographs while preserving the original integrity of the image. This comprehensive guide serves as a roadmap to mastering nondestructive dodging and burning in Photoshop, providing artists with the tools to elevate their editing skills and create images that captivate and resonate with viewers. As you integrate these techniques into your workflow, remember that practice, experimentation, and a keen eye for detail are essential components of achieving mastery in the art of dodging and burning.


