Mastering Visual Harmony: A Comprehensive Guide to Creating a Red-Blue Duotone Effect in Lightroom
James February 19, 2024
Introduction:
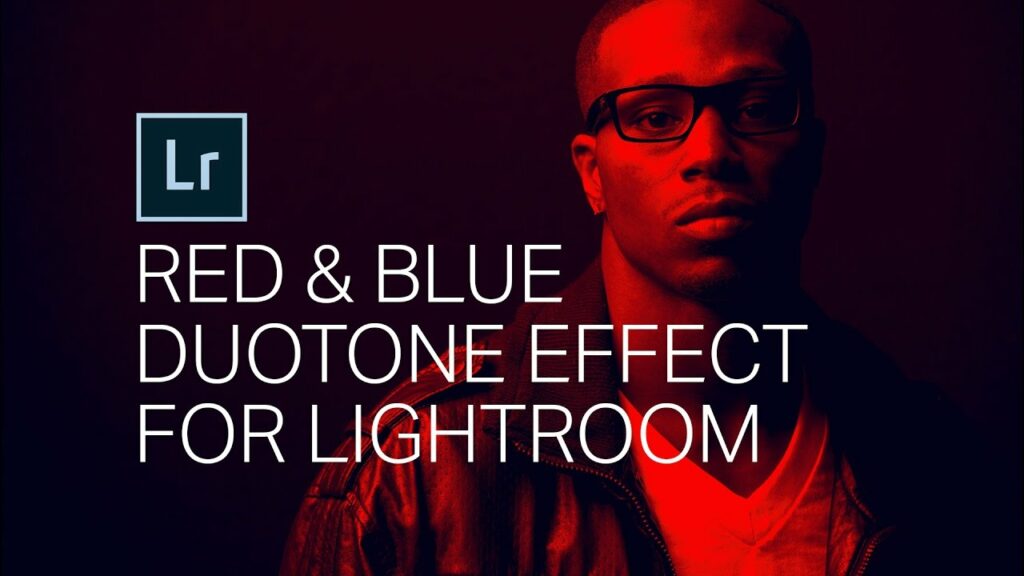
Duotone effects have become a popular and visually striking technique in photography, allowing artists to infuse images with a unique and captivating color palette. One of the intriguing variations is the Red-Blue Duotone Effect, which imparts a dynamic and dramatic tonal range. In this comprehensive tutorial, we will delve into the intricacies of creating a Red-Blue Duotone Effect using Adobe Lightroom. By following step-by-step instructions, photographers and enthusiasts can unlock the creative potential of this effect to enhance their images with a bold and harmonious color scheme.
Understanding the Red-Blue Duotone Effect:
The Red-Blue Duotone Effect involves transforming the original colors of an image into a two-color scheme dominated by red and blue tones. This technique not only adds a stylized and contemporary look but also emphasizes the contrast between warm and cool hues. The result is a visually compelling image that draws attention to specific elements while maintaining an overall sense of harmony.
Step 1: Import and Select Your Image
Begin by opening Adobe Lightroom and importing the image you wish to enhance with the Red-Blue Duotone Effect. Once the image is in your Lightroom library, select it to enter the Develop module.
Step 2: Adjust Basic Exposure Settings
Before diving into the duotone effect, ensure that the basic exposure settings are optimized for your image. Adjust parameters such as exposure, contrast, highlights, shadows, and whites to achieve a balanced and well-exposed base.
Step 3: Navigate to the Split Toning Panel
Navigate to the Split Toning panel in the Develop module. This panel is the key to achieving the Red-Blue Duotone Effect in Lightroom. It allows you to apply different tones to the highlights and shadows of the image.
Step 4: Set Highlights to Red
In the Split Toning panel, set the Hue slider for highlights to a shade of red. Experiment with the slider until you achieve a red tone that complements your image. Adjust the Saturation slider to control the intensity of the red highlights.
Step 5: Set Shadows to Blue
Similarly, set the Hue slider for shadows to a shade of blue. Explore the slider until you find a blue tone that complements the red highlights and suits the overall mood of your image. Use the Saturation slider to fine-tune the intensity of the blue shadows.
Step 6: Balance and Adjust Tones
To maintain a balanced and visually pleasing effect, carefully adjust the balance slider in the Split Toning panel. The balance slider controls the transition between highlights and shadows affected by the duotone effect. Experiment with the slider until you achieve the desired distribution of red and blue tones in your image.
Step 7: Fine-Tune Other Develop Settings
While the Red-Blue Duotone Effect is the focal point, continue fine-tuning other Develop settings to enhance the overall look of your image. Adjust clarity, vibrance, and saturation as needed, keeping in mind the impact on the duotone color scheme.
Step 8: Refine with Local Adjustments
If certain areas of your image need additional refinement, utilize local adjustment tools such as the Adjustment Brush or Graduated Filter. These tools allow you to apply the Red-Blue Duotone Effect selectively to specific regions, adding depth and dimension to your composition.
Step 9: Experiment with Tone Curve
Explore the Tone Curve panel to further refine the tonal distribution in your image. Adjust the RGB curve to fine-tune overall contrast and luminance, ensuring a harmonious balance between the red and blue tones.
Step 10: Compare Before and After
Regularly toggle between the original and edited versions of your image using the “Before/After” view in Lightroom. This comparison helps you assess the impact of the Red-Blue Duotone Effect and make any necessary adjustments for optimal results.
Step 11: Export Your Duotone Masterpiece
Once you are satisfied with the Red-Blue Duotone Effect and overall edits, it’s time to export your masterpiece. Click the “Export” button in Lightroom, choose your preferred export settings, and save the image in your desired location.
Conclusion:
Creating a Red-Blue Duotone Effect in Lightroom is a captivating and artistic process that adds a bold and modern dimension to your photographs. By leveraging the Split Toning panel and other essential Lightroom tools, photographers can achieve a harmonious balance between warm and cool tones, creating visually compelling images that captivate viewers. This comprehensive guide serves as a roadmap for mastering the Red-Blue Duotone Effect, providing step-by-step instructions and insights to help you infuse your images with a distinctive and visually striking color palette. As you integrate this technique into your creative workflow, remember that experimentation and a keen eye for color harmony are key to unlocking the full potential of the Red-Blue Duotone Effect in your photographic endeavors.


