Maximizing Workflow Efficiency: A Comprehensive Guide on How to Use Dynamic Link Between Premiere Pro and After Effects
Introduction: Adobe Premiere Pro and After Effects are powerful tools for video editing and motion graphics, respectively. When used together, they offer a seamless workflow for creating stunning visual content. Dynamic Link is a feature that bridges the gap between Premiere Pro and After Effects, allowing users to easily transfer projects, compositions, and assets between the two applications without the need for rendering or exporting. In this comprehensive guide, we will explore the step-by-step process of using Dynamic Link to streamline your workflow and unleash your creativity.
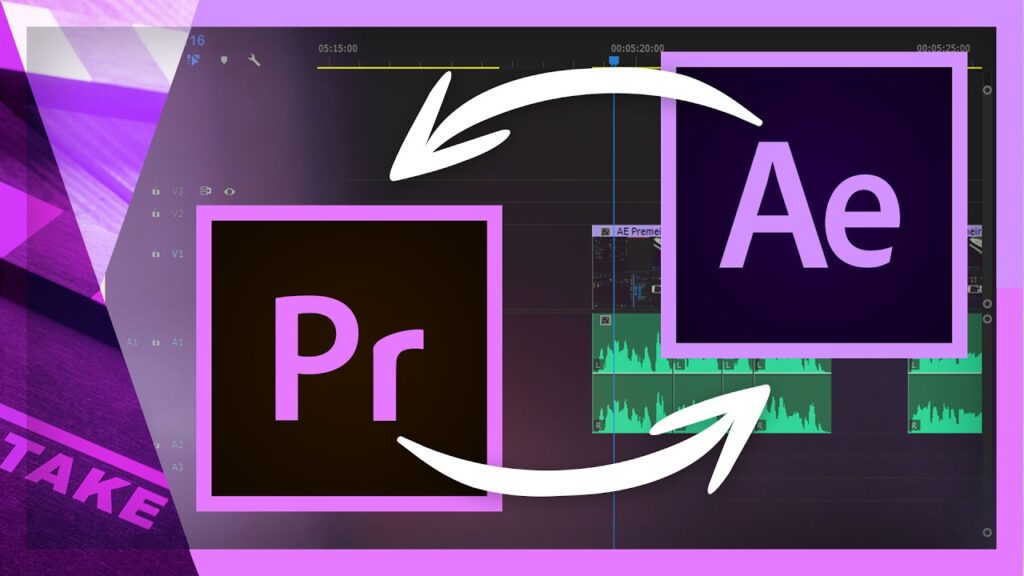
Understanding Dynamic Link: Dynamic Link is a feature in Adobe Creative Cloud that enables seamless integration between Premiere Pro and After Effects. With Dynamic Link, users can import After Effects compositions directly into Premiere Pro projects, edit them in real-time, and see the changes reflected instantly without rendering or exporting. This eliminates the need for intermediate files and preserves the original quality of the content, saving time and reducing the risk of errors.
Step 1: Setting Up Your Workflow Before using Dynamic Link, it’s essential to set up your workflow and ensure compatibility between Premiere Pro and After Effects. Make sure both applications are installed and up-to-date on your computer, and that your project settings match between the two programs. This includes frame rate, resolution, and pixel aspect ratio.
Step 2: Creating Your Project in Premiere Pro Start by creating your project in Premiere Pro and organizing your footage, audio, and other assets on the timeline. Edit your video as desired, adding transitions, effects, and titles to create a polished sequence.
Step 3: Sending Clips to After Effects Once you’re ready to add visual effects or motion graphics to your project, select the clips you want to work on in Premiere Pro and right-click on them. Choose “Replace with After Effects Composition” from the context menu to open the selected clips in After Effects as a new composition.
Step 4: Editing in After Effects In After Effects, you can now add visual effects, animations, text, and other elements to your composition. Use the timeline, layers panel, and effects controls to manipulate the selected clips and create the desired look and feel.
Step 5: Saving Your Changes After making changes in After Effects, save your project to apply the updates to the linked composition in Premiere Pro. You can also make additional edits or adjustments as needed, and the changes will be automatically updated in Premiere Pro in real-time.
Step 6: Fine-Tuning in Premiere Pro Back in Premiere Pro, you can continue editing your sequence, adding music, sound effects, and other finishing touches. The linked composition from After Effects will appear on the timeline as a single clip, allowing you to adjust its timing, position, and opacity as needed.
Step 7: Previewing and Exporting Once you’re satisfied with your project, preview the final result in Premiere Pro to ensure everything looks and sounds as expected. You can then export your video using Premiere Pro’s built-in export settings, choosing the desired format, resolution, and bitrate for your final deliverable.
Tips and Best Practices:
- Keep your project organized by using consistent naming conventions and folder structures.
- Use nested sequences in Premiere Pro to group related clips and effects for easier editing.
- Limit the number of Dynamic Link compositions in your project to avoid performance issues.
- Render or pre-compose complex compositions in After Effects before importing them into Premiere Pro for smoother playback.
- Experiment with different effects, transitions, and animations in After Effects to enhance the visual impact of your project.
Conclusion: Dynamic Link is a powerful feature that streamlines the workflow between Premiere Pro and After Effects, allowing users to seamlessly integrate visual effects, motion graphics, and animations into their video projects. By following the step-by-step process outlined in this guide and incorporating best practices for organization and efficiency, you can maximize the potential of Dynamic Link and unlock new creative possibilities in your video editing and motion graphics work. Whether you’re adding subtle enhancements or creating dynamic visual effects, Dynamic Link empowers you to bring your vision to life with precision and ease.


