Mastering Borders in MS Word: A Comprehensive Guide to Adding Borders to Text
Introduction: Microsoft Word is a versatile word processing software that offers a wide range of formatting options to enhance the appearance of your documents. Adding borders to text is a simple yet effective way to draw attention to specific sections, create visual hierarchy, and improve the overall readability of your document. In this comprehensive guide, we will explore the various methods and techniques for adding borders to text in MS Word, allowing you to customize your documents with ease and precision.
Understanding Borders in MS Word: Borders in MS Word refer to the lines or frames that can be applied to text, paragraphs, tables, or entire pages to create visual separation and structure. Borders can be customized in terms of line style, color, width, and placement, allowing you to achieve a wide range of effects to suit your document’s design requirements. Whether you’re creating a professional report, a stylish flyer, or a formal letter, knowing how to add borders to text in MS Word can enhance the visual appeal and professionalism of your documents.
Methods for Adding Borders to Text: There are several methods for adding borders to text in MS Word, each offering different levels of customization and flexibility. Let’s explore some of the most common methods:
- Using the Borders and Shading Dialog Box:
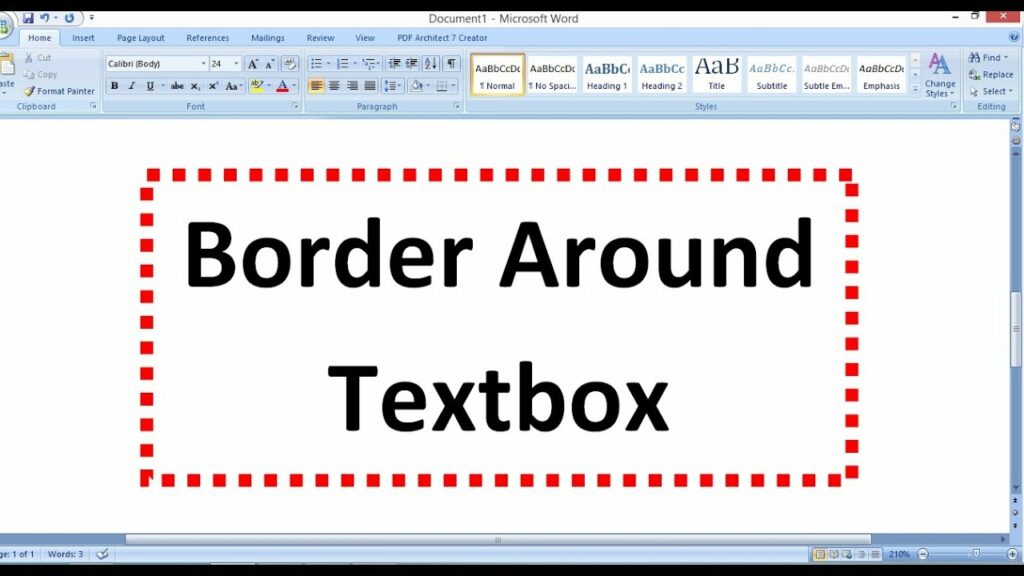
- Select the text to which you want to add a border.
- Go to the “Home” tab on the Ribbon.
- Click on the “Borders” dropdown arrow in the Paragraph group.
- Select “Borders and Shading” from the dropdown menu.
- In the Borders and Shading dialog box, navigate to the “Borders” tab.
- Choose the border style, color, width, and placement options according to your preferences.
- Click “OK” to apply the border to the selected text.
- Using the Borders Button:
- Select the text to which you want to add a border.
- Go to the “Home” tab on the Ribbon.
- In the Paragraph group, click on the “Borders” button.
- Choose the desired border style from the dropdown menu (e.g., All Borders, Outside Borders, Inside Borders, etc.).
- The selected border style will be applied to the text immediately.
- Using the Drawing Tools:
- Go to the “Insert” tab on the Ribbon.
- Click on the “Shapes” dropdown arrow in the Illustrations group.
- Select a shape (e.g., Rectangle) from the dropdown menu.
- Click and drag to draw a rectangle around the text.
- Right-click on the shape and choose “Format Shape” from the context menu.
- In the Format Shape pane, navigate to the “Line” options.
- Customize the line color, weight, and style to create the desired border effect.
- Adjust the shape’s size and position as needed to fit around the text.
- Using Borders in Tables:
- If you’re working with text in a table, you can add borders to individual cells, rows, or columns.
- Select the cells, rows, or columns to which you want to add borders.
- Go to the “Table Design” tab on the Ribbon.
- Click on the “Borders” dropdown arrow in the Table Styles group.
- Choose the desired border style from the dropdown menu (e.g., All Borders, Outside Borders, Inside Borders, etc.).
- The selected border style will be applied to the selected cells, rows, or columns.
Customizing Border Styles and Options: In addition to choosing the method for adding borders to text, you can customize various aspects of the border style and options in MS Word. Here are some customization options you can explore:
- Line Style: MS Word offers a variety of line styles for borders, including solid, dashed, dotted, double, and more. Experiment with different line styles to find the one that best suits your document’s design.
- Line Color: You can choose from a wide range of colors for your borders, including standard colors, theme colors, or custom colors. Select a color that complements your document’s color scheme and enhances readability.
- Line Width: Adjust the thickness or width of the border lines to create subtle or bold border effects. MS Word offers options for thin, medium, or thick lines, as well as custom line widths for precise control.
- Border Placement: Customize the placement of borders around text, paragraphs, tables, or entire pages. You can add borders to the top, bottom, left, and right sides of text, or create more complex border arrangements for tables and page elements.
- Border Effects: MS Word also offers advanced border effects and styles, such as shadow, 3D, and artistic effects, to add depth and visual interest to your borders. Explore these effects to create unique and eye-catching border designs.
Best Practices for Using Borders in MS Word: While borders can enhance the visual appeal of your documents, it’s essential to use them judiciously and effectively. Here are some best practices for using borders in MS Word:
- Keep it Simple: Avoid overloading your document with excessive borders, as this can clutter the layout and distract from the content. Use borders sparingly to highlight key sections or provide visual separation between elements.
- Maintain Consistency: Use consistent border styles, colors, and widths throughout your document to create a cohesive and professional appearance. Consistency helps establish visual hierarchy and improves readability.
- Consider Accessibility: Keep in mind that certain border styles or effects may affect the accessibility of your document for users with visual impairments. Choose border styles that are easy to read and distinguish, even in grayscale or high-contrast modes.
- Test and Preview: Before finalizing your document, test different border styles and options to see how they appear on the page. Use the “Preview” feature in MS Word to preview your document’s appearance before printing or sharing it with others.
Conclusion: Adding borders to text in MS Word is a simple yet powerful way to enhance the appearance and readability of your documents. Whether you’re creating professional reports, stylish flyers, or elegant invitations, knowing how to use borders effectively can help you create visually appealing and well-organized documents that leave a lasting impression. By mastering the various methods and customization options for adding borders to text, you can unlock the full potential of MS Word and create documents that stand out for their clarity, professionalism, and visual impact. So next time you’re working on a document in MS Word, don’t forget to explore the possibilities of borders and unleash your creativity to elevate your designs to the next level.


