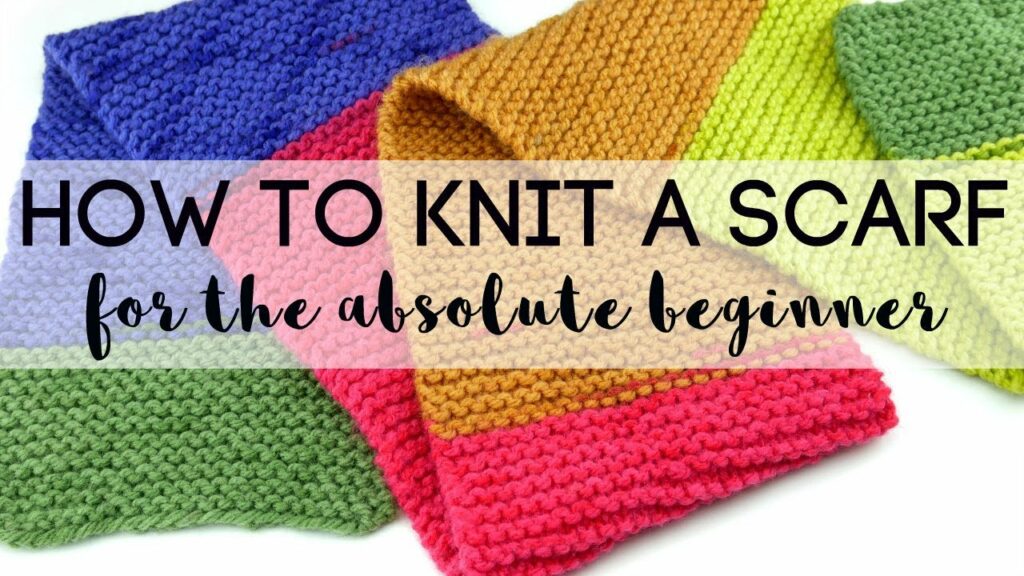
Comprehensive Guide: How to Knit a Scarf for Beginners
Knitting a scarf is a rewarding and creative endeavor that allows beginners to learn the basics of knitting while creating a practical and stylish accessory. Whether you’re new to knitting or looking to refresh your skills, this comprehensive guide will take you through the step-by-step process of knitting a scarf. From choosing yarn and needles to mastering essential stitches, you’ll gain the confidence and techniques needed to create a beautiful scarf that you’ll be proud to wear or gift.
Tools and Materials You’ll Need
Before you begin knitting your scarf, gather these essential tools and materials:
- Yarn: Choose a soft, medium-weight yarn (worsted or aran weight) in a color and texture you love.
- Knitting needles: Opt for medium-sized needles (US size 8-10 or 5-6 mm) suitable for your chosen yarn.
- Scissors: For cutting yarn and finishing your project.
- Tapestry needle: Used for weaving in yarn ends and finishing touches.
- Measuring tape: To check gauge and scarf dimensions.
- Pattern or guide: Optional, but helpful for beginners to follow along with instructions.
Step-by-Step Guide to Knitting a Scarf for Beginners
1. Choose Yarn and Needles
- Select yarn: Choose a yarn that is comfortable to work with and appropriate for your climate.
- Match needles: Use needles that match the recommended size on the yarn label for best results.
2. Cast On Stitches
- Make a slip knot: Start with a slip knot on one needle.
- Cast on stitches: Use your preferred casting-on method to create the desired width for your scarf. Common methods include the long-tail cast-on or knitted cast-on.
3. Knit Stitch (Garter Stitch Pattern)
- Knit every row: For beginners, knitting every row (garter stitch) creates a textured and reversible fabric.
- Insert needle into stitch: Insert the needle into the first stitch from front to back.
- Wrap yarn around needle: Wrap the yarn around the needle.
- Pull yarn through: Pull the yarn through the stitch, slipping the old stitch off the needle.
- Repeat: Continue knitting every row until your scarf reaches the desired length, measuring it periodically.
4. Bind Off Stitches
- Finish the scarf: Once your scarf reaches the desired length, bind off stitches to create a neat edge.
- Knit the first two stitches: Knit the first two stitches of the row.
- Lift the first stitch over the second: Lift the first stitch over the second stitch and off the needle.
- Continue binding off: Knit the next stitch, lift the previous stitch over, and repeat until one stitch remains.
- Cut yarn and weave in ends: Cut the yarn, leaving a tail. Use a tapestry needle to weave in the ends into the finished fabric.
5. Optional: Add Fringe or Embellishments
- Personalize your scarf: Add fringe, tassels, or other embellishments to customize your scarf’s appearance.
Tips for Beginner Knitters
- Practice tension: Maintain consistent tension in your knitting for an even and attractive fabric.
- Count stitches: Count stitches regularly to ensure your scarf remains uniform in width.
- Take breaks: Knitting can be repetitive, so take breaks to rest your hands and avoid strain.
- Learn from mistakes: Don’t be afraid to unravel and redo sections if needed. Mistakes are part of learning.
Conclusion
Knitting a scarf for beginners is a wonderful introduction to the art of knitting, offering a creative outlet and the satisfaction of crafting something by hand. With this comprehensive guide, you have the tools and knowledge to embark on your knitting journey confidently. Whether you’re knitting for yourself or as a thoughtful gift, enjoy the process of creating a cozy and stylish accessory that reflects your personal style and skill.
In conclusion, with patience and practice, you’ll soon be knitting scarves with ease, exploring different stitches, yarns, and patterns to expand your knitting repertoire. Embrace the joy of knitting and celebrate your creativity with each completed project.


