Elevating Design with Precision: An In-Depth Exploration of the Contour Effect in CorelDRAW
Introduction: CorelDRAW stands as a cornerstone in the world of graphic design software, offering a wealth of tools and features to empower designers to bring their creative visions to life. Among these tools is the Contour effect, a versatile tool that allows designers to add depth, dimension, and visual interest to their designs. In this extensive guide, we embark on a comprehensive exploration of the Contour effect in CorelDRAW, uncovering its functionalities, applications, and techniques for achieving stunning visual effects.
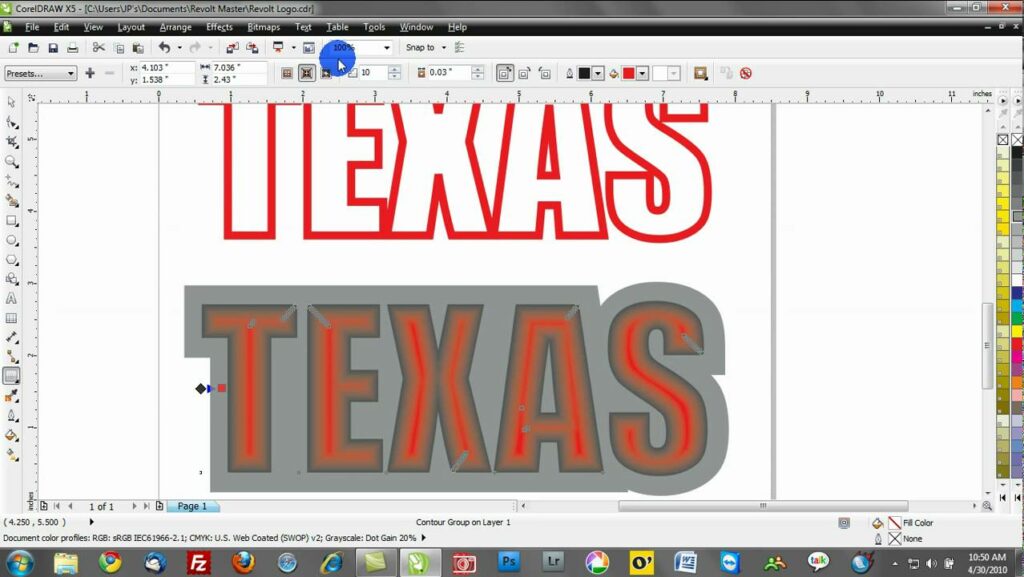
Part 1: Understanding the Contour Effect The Contour effect in CorelDRAW enables designers to create outlines or borders around objects, text, or shapes, adding depth and dimension to their designs. This effect is achieved by duplicating the original object, scaling it inward or outward, and applying various parameters such as width, color, and transparency. The Contour effect is particularly useful for creating stylized text, highlighting focal points, and adding visual emphasis to design elements.
Part 2: Overview of Contour Options in CorelDRAW CorelDRAW offers a variety of tools and features for applying the Contour effect to designs, allowing designers to achieve a wide range of visual effects and styles. Some of the key methods for applying the Contour effect in CorelDRAW include:
- Contour Tool: Use the Contour tool to create outlines or borders around objects, text, or shapes with precision and control. CorelDRAW provides intuitive controls for adjusting parameters such as width, color, and transparency, allowing designers to customize the appearance of the Contour effect to their liking.
- Object Properties Docker: Access advanced options and settings for the Contour effect through the Object Properties docker, which provides a centralized interface for managing object properties and effects. Designers can fine-tune parameters such as contour steps, blending modes, and contour alignment for enhanced control and flexibility.
- Contour Presets: Explore predefined contour presets and styles to quickly apply common effects and styles to design elements. CorelDRAW offers a variety of contour presets, including inset, outset, and dual contours, which can be customized and adapted to suit specific design requirements.
- Interactive Contour Tool: Use the Interactive Contour tool to apply and adjust contours interactively, allowing for real-time feedback and dynamic adjustments. Designers can drag control points to modify the shape and position of contours, making it easy to experiment with different effects and variations.
- Contour Mesh: Create complex and organic contours using the Contour Mesh tool, which allows designers to define custom shapes and paths for contour effects. CorelDRAW provides powerful mesh editing capabilities, including control over individual mesh nodes and segments, for precise and detailed adjustments.
Part 3: Applying the Contour Effect in CorelDRAW To apply the Contour effect in CorelDRAW, designers can select the desired object, text, or shape and choose the Contour tool from the toolbar or the Object menu. Once applied, designers can adjust parameters such as width, color, and transparency to customize the appearance of the Contour effect. CorelDRAW provides real-time previews, allowing designers to see the effect of adjustments instantly and make informed decisions about their design.
Part 4: Practical Applications and Techniques The Contour effect in CorelDRAW can be used in a variety of creative projects, including logo design, typography, illustration, and more. Designers can leverage the Contour effect to add depth, dimension, and visual interest to their designs, creating dynamic compositions that capture the viewer’s attention and convey a sense of style and sophistication. By mastering the techniques for applying and customizing the Contour effect, designers can unlock the full creative potential of CorelDRAW and produce stunning visual compositions that captivate and inspire viewers.
Part 5: Tips and Tricks for Effective Contour Effects To achieve impactful and visually compelling Contour effects in CorelDRAW, consider the following tips and tricks:
- Experiment with different Contour parameters and settings to explore the full creative potential of the effect, including width, color, transparency, and blending modes.
- Combine the Contour effect with other design techniques and effects, such as gradients, textures, and shadows, to create complex and layered compositions.
- Pay attention to the context and purpose of the design when applying Contour effects, considering factors such as readability, legibility, and visual hierarchy.
- Use layers, groups, and object properties to organize and manage design elements, making it easy to apply and adjust Contour effects across multiple objects or documents.
- Regularly save incremental versions of projects to track changes and revisions, allowing for easy experimentation and exploration without risking data loss.
Part 6: Conclusion The Contour effect in CorelDRAW offers designers a powerful tool for adding depth, dimension, and visual interest to their designs with precision and creativity. Whether you’re a seasoned professional or a novice enthusiast, mastering the art of Contour effects opens up a world of creative possibilities and allows you to express your unique vision with clarity and style. By exploring the diverse range of tools and features available in CorelDRAW for applying and customizing Contour effects, designers can elevate their design work to new heights and unleash their full creative potential.


