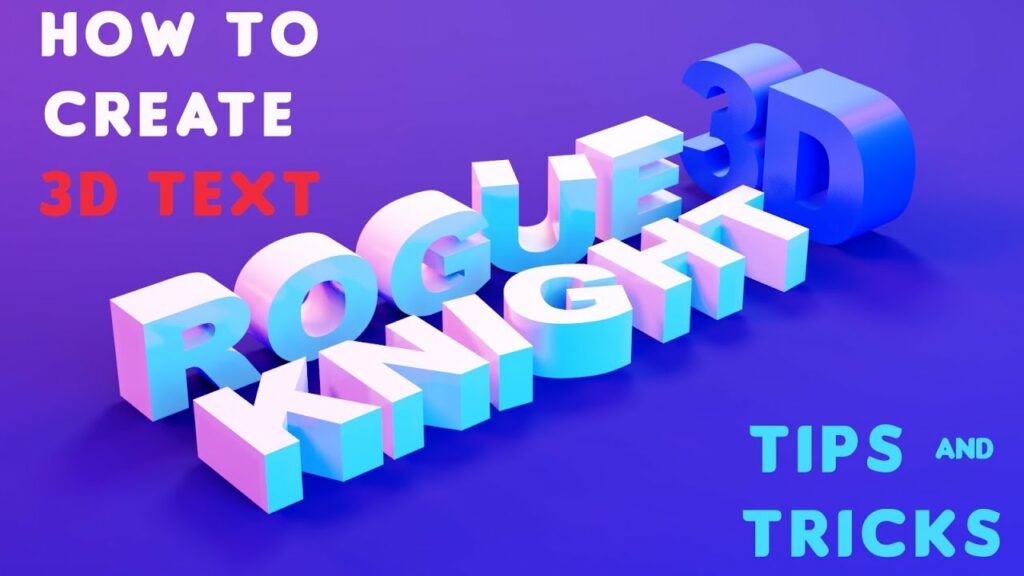
Mastering 3D Text: A Comprehensive Guide on How to Add 3D Text in Blender

Introduction: Blender, a powerful open-source 3D modeling and animation software, offers versatile tools for creating stunning 3D graphics, animations, and visual effects. One of the most common tasks in Blender is adding 3D text to your projects, whether for titles, logos, or signage. In this comprehensive guide, we will explore the step-by-step process of adding 3D text in Blender, from creating text objects to customizing materials and lighting for professional-looking results.
Understanding 3D Text in Blender: In Blender, 3D text is created using text objects, which can be customized and manipulated like any other 3D object. Text objects in Blender can be edited with various fonts, sizes, and styles, and can be converted to mesh objects for further manipulation. By adding materials, textures, and lighting, you can create visually appealing 3D text that integrates seamlessly into your projects.
Step 1: Launch Blender and Set Up the Scene To add 3D text in Blender, launch the software and create a new project by selecting File > New > General from the top menu. This will open a new Blender workspace with a default scene containing a camera, light source, and cube object. You can adjust the viewport layout and camera perspective as needed to prepare the scene for adding 3D text.
Step 2: Add Text Object To add a text object to the scene, press Shift + A or navigate to the Add menu in the top-left corner of the 3D viewport. Select Text from the menu to add a new text object at the 3D cursor position. The text object will appear as a flat plane with editable text displayed in the center.
Step 3: Edit Text With the text object selected, you can edit the text by entering Edit Mode. Press Tab or select Edit Mode from the dropdown menu in the bottom-left corner of the 3D viewport. This will allow you to enter and edit text directly in the viewport, using the keyboard to type, delete, and modify characters.
Step 4: Customize Text Properties Once you’ve entered your desired text, you can customize its properties in the Object Data tab of the Properties panel. Here, you can adjust the font, size, alignment, spacing, and other text attributes to achieve the desired look and style. Experiment with different fonts and settings to find the perfect design for your 3D text.
Step 5: Convert Text to Mesh Object To convert the text object to a mesh object for further manipulation, navigate to the Object menu in the 3D viewport and select Convert to > Mesh from Curve/Meta/Surf/Text. This will convert the text object into a mesh object with editable vertices, edges, and faces, allowing you to sculpt, deform, and animate the 3D text like any other object in Blender.
Step 6: Apply Materials and Textures To add color, texture, and visual effects to your 3D text, you can apply materials and textures in the Shader Editor. Select the text object and navigate to the Material tab in the Properties panel. Click the New button to create a new material, then adjust its properties, such as base color, roughness, metallic, and emission, to achieve the desired look.
Step 7: Set Up Lighting and Environment To enhance the visual impact of your 3D text, you can set up lighting and environment settings in Blender. Add light sources, such as lamps or area lights, to illuminate the scene and cast shadows on the text object. Experiment with different lighting setups and positions to achieve dramatic or subtle effects that complement your 3D text.
Step 8: Render and Export Once you’ve customized your 3D text to your satisfaction, it’s time to render the scene and export it as a finished image or animation. Navigate to the Render tab in the Properties panel and adjust the render settings, such as resolution, frame rate, and output format. Click the Render button to render the scene, then save the rendered image or animation to your desired location.
Tips and Tricks:
- Experiment with different fonts, sizes, and styles to create visually appealing 3D text designs.
- Use modifiers, such as Bevel and Extrude, to add depth and dimension to your 3D text.
- Apply textures and image maps to your 3D text for added realism and detail.
- Take advantage of Blender’s sculpting and modeling tools to sculpt and shape the 3D text to your liking.
- Utilize Blender’s animation features to animate the 3D text and bring it to life in your projects.
Conclusion: Adding 3D text in Blender opens up endless possibilities for creating stunning graphics, animations, and visual effects. By following the step-by-step process outlined in this guide and experimenting with different techniques and settings, you can create professional-looking 3D text that enhances the visual impact of your projects. Whether you’re designing titles for a video, creating logos for branding, or crafting signage for virtual environments, Blender offers the tools and flexibility you need to bring your 3D text visions to life.


