Mastering the Art of Capture: A Comprehensive Guide to Harnessing the Windows Snipping Tool in Windows 7
In the realm of digital documentation and communication, capturing and sharing screenshots has become an indispensable task. Whether you’re highlighting a specific portion of a webpage, illustrating a software bug, or creating visual tutorials, the ability to capture precise screenshots is essential. Windows 7 introduces a powerful tool known as the Snipping Tool, designed to provide users with a simple yet versatile platform for capturing, annotating, and sharing screenshots with ease. In this comprehensive guide, we will delve deep into the intricacies of using the Snipping Tool in Windows 7, providing step-by-step instructions, advanced techniques, and practical insights to help you master the art of capture and streamline your workflow.
Understanding the Snipping Tool in Windows 7:
Before delving into the process of using the Snipping Tool, let’s first grasp the concept and significance of this versatile utility:
- Versatile Screenshot Capture: The Snipping Tool allows users to capture screenshots of specific areas on the screen, entire windows, or the entire desktop.
- Annotate and Edit: In addition to capturing screenshots, the Snipping Tool offers basic annotation and editing features, allowing users to highlight, draw, and add text to screenshots.
- Flexibility and Convenience: With its intuitive user interface and customizable capture options, the Snipping Tool provides users with flexibility and convenience in capturing and sharing screenshots.
Accessing the Snipping Tool in Windows 7:
Now, let’s explore how to access and navigate the Snipping Tool in Windows 7:
- Accessing the Snipping Tool:
- Click on the Start button in the taskbar and type “Snipping Tool” in the search box.
- Alternatively, navigate to “All Programs” > “Accessories” > “Snipping Tool” to open the Snipping Tool application.
- Navigating the Snipping Tool:
- Once opened, the Snipping Tool displays a simple and intuitive interface with options for capturing screenshots and accessing editing tools.
Using the Snipping Tool Features:
Now that we’ve accessed the Snipping Tool, let’s explore its key features and functionalities:
- Capture Modes:
- The Snipping Tool offers several capture modes, including Free-form Snip, Rectangular Snip, Window Snip, and Full-screen Snip.
- Select the desired capture mode from the drop-down menu in the Snipping Tool window.
- Capturing Screenshots:
- Choose the appropriate capture mode based on your screenshot requirements.
- Click and drag the cursor to select the area of the screen you want to capture.
- Release the mouse button to capture the selected area.
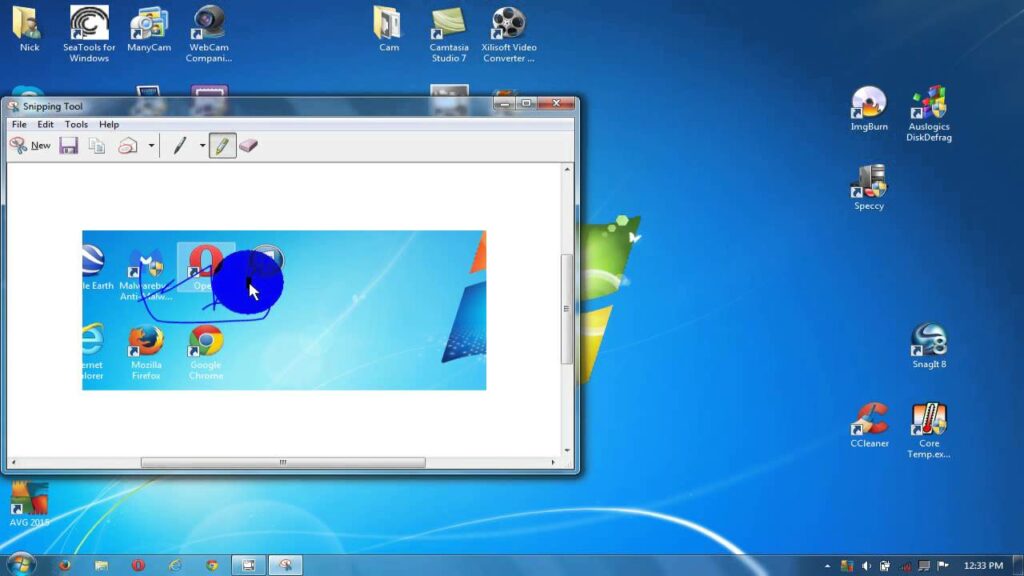
- Annotation and Editing:
- After capturing a screenshot, the Snipping Tool provides basic annotation and editing tools.
- Use the Pen tool to draw freehand annotations, the Highlighter tool to emphasize specific areas, and the Eraser tool to undo changes.
- Add text annotations by clicking on the “Pen” dropdown menu and selecting “Text.”
- Saving and Sharing:
- Once you’ve annotated and edited the screenshot, click on the “File” menu and select “Save As” to save the screenshot to your desired location.
- Choose the file format (e.g., PNG, JPEG) and specify the file name and location.
- Alternatively, click on the “Copy” button to copy the screenshot to the clipboard for pasting into other applications.
Advanced Features and Tips:
To further enhance your experience with the Snipping Tool in Windows 7, consider the following advanced features and tips:
- Customizing Capture Options:
- Click on the “Options” button in the Snipping Tool window to access additional settings and options.
- Customize capture settings such as ink color, ink thickness, and hide instruction text to suit your preferences.
- Keyboard Shortcuts:
- Use keyboard shortcuts to streamline your workflow with the Snipping Tool.
- Press the “Ctrl + N” keyboard shortcut to initiate a new screenshot capture directly.
- Integration with Other Applications:
- The Snipping Tool integrates seamlessly with other applications, allowing users to capture screenshots and paste them directly into emails, documents, and presentations.
- Use the “Edit” menu to copy and paste screenshots into other applications for further editing and sharing.
- Experiment with Different Capture Modes:
- Experiment with different capture modes to find the most suitable option for your screenshot requirements.
- Try using the Free-form Snip mode for capturing irregular shapes or the Window Snip mode for capturing specific windows or dialog boxes.
Conclusion:
The Snipping Tool in Windows 7 serves as a versatile and indispensable utility for capturing, annotating, and sharing screenshots with ease. By following the comprehensive guide outlined above, users can effectively utilize the Snipping Tool to capture precise screenshots, annotate and edit them with ease, and share them with others seamlessly. Whether you’re highlighting important information, troubleshooting technical issues, or creating visual tutorials, the Snipping Tool provides you with the tools and flexibility to streamline your workflow and enhance your productivity. So embrace the power of the Snipping Tool today, master its features and functionalities with confidence, and unlock new possibilities for capturing and sharing screenshots with precision and creativity.


