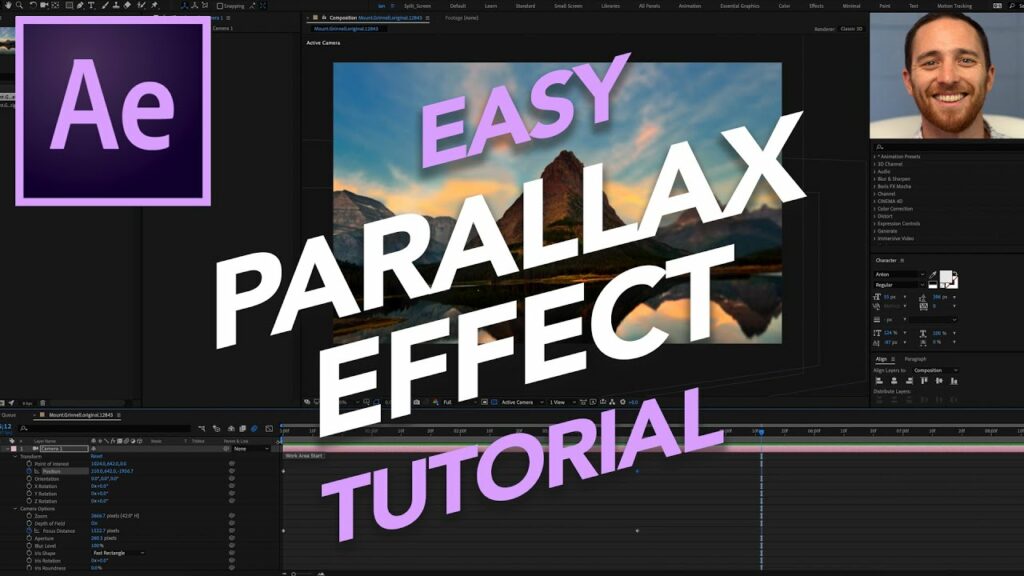
Mastering the Parallax Effect: A Comprehensive Guide on How to Create Parallax Animation in After Effects

Introduction: The parallax effect is a popular animation technique used in motion graphics and video production to create depth and immersion by moving foreground and background elements at different speeds. Adobe After Effects, a powerful motion graphics software, offers versatile tools and features for creating dynamic parallax animations. In this comprehensive guide, we will explore the step-by-step process of creating a parallax effect in After Effects, from planning and preparation to execution and refinement.
Understanding the Parallax Effect: The parallax effect simulates the perception of depth by displaying background and foreground elements moving at different speeds. This creates a sense of three-dimensional space and immersion, enhancing the visual appeal and engagement of motion graphics and video projects. The parallax effect is commonly used in various applications, including website design, video intros, product showcases, and storytelling animations.
Step 1: Plan Your Parallax Animation Before diving into After Effects, it’s essential to plan your parallax animation carefully. Define the visual style, theme, and narrative of your animation. Determine the number of layers and elements you’ll need to create the desired depth effect. Sketch out a storyboard or create a visual reference to guide the animation process and ensure coherence and continuity.
Step 2: Prepare Your Assets Gather and prepare the assets you’ll need for your parallax animation, including background images, foreground elements, and any additional graphics or text overlays. Organize your assets into separate layers and folders to streamline the animation workflow. Consider using high-resolution images and vector graphics to maintain visual quality and scalability.
Step 3: Set Up Your Composition Launch After Effects and create a new composition by selecting Composition > New Composition from the top menu. Set the dimensions, frame rate, and duration of your composition based on your project requirements. Import your prepared assets into the project panel and drag them onto the timeline to arrange them in the desired order.
Step 4: Create the Parallax Effect To create the parallax effect, you’ll need to animate the position of the layers relative to each other. Select the layers you want to animate and enable the 3D layer switch by clicking the cube icon next to the layer name. This allows you to move layers in three-dimensional space and create depth effects.
Next, adjust the position and scale properties of the layers to create the parallax effect. Move the background layers farther away from the camera by increasing their Z-axis position value, while keeping the foreground layers closer to the camera. Experiment with different movement speeds and distances to achieve the desired depth effect.
Step 5: Add Motion Blur and Effects To enhance the realism of your parallax animation, consider adding motion blur to simulate the natural blur that occurs when objects move quickly. Enable motion blur for each layer by clicking the motion blur icon in the timeline or selecting Layer > Motion Blur > On for the entire composition.
You can also add additional effects and enhancements to your parallax animation, such as color grading, light leaks, particle effects, or transitions. Experiment with different effects and settings to add visual interest and polish to your animation.
Step 6: Preview and Refine Once you’ve created your parallax animation, preview it in the composition panel to see how it looks in motion. Fine-tune the timing, speed, and positioning of the layers to ensure smooth and natural movement. Use the playback controls to scrub through the animation and make adjustments as needed.
Step 7: Render and Export Once you’re satisfied with your parallax animation, it’s time to render and export it as a video file. Select Composition > Add to Render Queue from the top menu to add your composition to the render queue. Configure the render settings, including output format, codec, resolution, and frame rate, then click Render to export your animation.
Tips and Tricks:
- Experiment with different layer arrangements and movement speeds to create unique parallax effects.
- Use the graph editor to fine-tune the easing and interpolation of keyframe animations for smoother motion.
- Incorporate depth cues such as perspective, scale, and focal length to enhance the realism of your parallax animation.
- Combine the parallax effect with other animation techniques, such as masking, rotoscoping, or camera movements, to create complex and dynamic animations.
Conclusion: The parallax effect is a versatile animation technique that adds depth and immersion to motion graphics and video projects. By following the step-by-step process outlined in this guide and experimenting with different techniques and settings in After Effects, you can create stunning parallax animations that captivate your audience and elevate your creative projects. Whether you’re designing a website header, crafting a video intro, or telling a visual story, the parallax effect offers endless possibilities for creative expression and storytelling in motion graphics.


