Mastering the Warp Tool: A Comprehensive Guide to Using the Warp Tool in Adobe Illustrator
Introduction: The Warp Tool in Adobe Illustrator is a versatile feature that allows designers to distort, manipulate, and transform objects and shapes with precision and creativity. Whether you’re creating dynamic typography, shaping logos, or adding unique effects to illustrations, the Warp Tool offers a wide range of possibilities for enhancing your artwork. In this extensive guide, we’ll explore the step-by-step process of using the Warp Tool in Adobe Illustrator, covering everything from basic transformations to advanced techniques, with practical tips and creative insights along the way.
Part 1: Understanding the Warp Tool
- Introduction to the Warp Tool: The Warp Tool in Adobe Illustrator enables users to distort and reshape objects by dragging predefined anchor points or by creating custom warp paths. It offers several warp options, including arc, flag, fish, rise, and twist, each providing unique distortion effects.
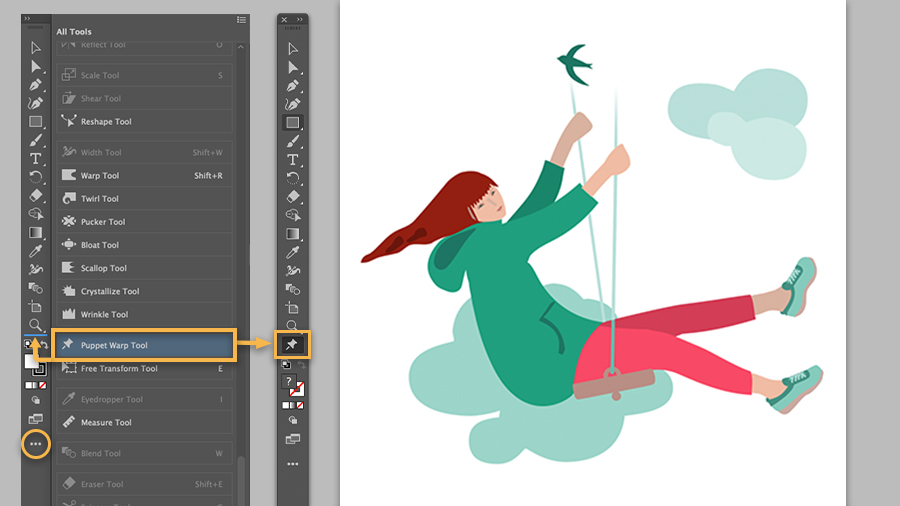
- Accessing the Warp Tool: The Warp Tool can be found in the Tools panel in Adobe Illustrator, grouped with the other distortion tools. Simply select an object or shape, then click on the Warp Tool icon to activate it.
Part 2: Applying Basic Warp Transformations
- Using Predefined Warp Options: Start by selecting an object or shape in Adobe Illustrator and activating the Warp Tool. Choose from the predefined warp options in the Control panel or the Warp Options dialog box, then click and drag on the object to apply the warp transformation.
- Customizing Warp Paths: For more precise control, create custom warp paths by clicking and dragging on the object with the Warp Tool active. Adjust the curvature and direction of the warp path to achieve the desired distortion effect.
Part 3: Advanced Techniques and Tips
- Combining Warp Effects: Experiment with combining multiple warp effects to create complex distortions and transformations. Apply one warp effect, then switch to another warp option to further manipulate the shape and appearance of the object.
- Using Envelope Distort with Warp: Combine the Warp Tool with Envelope Distort to create even more dynamic and customized distortions. Apply a basic envelope distortion to the object first, then use the Warp Tool to fine-tune and refine the shape further.
Part 4: Creative Applications of the Warp Tool
- Creating Dynamic Text Effects: Use the Warp Tool to add flair and personality to typography in Adobe Illustrator. Apply warp effects to individual letters or entire words to create curved, wavy, or twisted text that stands out.
- Shaping Logos and Icons: Enhance logos and icons with unique distortions and transformations using the Warp Tool. Experiment with different warp options to add dimension and visual interest to flat shapes and symbols.
Part 5: Tips for Optimization and Efficiency
- Using Guides and Grids: Utilize guides and grids in Adobe Illustrator to maintain alignment and consistency when applying warp transformations. Snap objects to grids or use guides to ensure precise positioning and spacing.
- Saving Warp Presets: Save custom warp presets in Adobe Illustrator to streamline your workflow and reuse frequently used distortion effects. Create and save presets for specific projects or styles to save time and effort in future designs.
Conclusion
The Warp Tool in Adobe Illustrator is a powerful tool for distorting, manipulating, and transforming objects with precision and creativity. By mastering the techniques and tips outlined in this guide, you’ll be equipped with the knowledge and skills to create dynamic and visually compelling distortions in your artwork. Remember to experiment, practice, and explore new techniques to continually refine your Warp Tool skills in Adobe Illustrator. With dedication and creativity, you can create artwork that captivates viewers and pushes the boundaries of visual expression.


