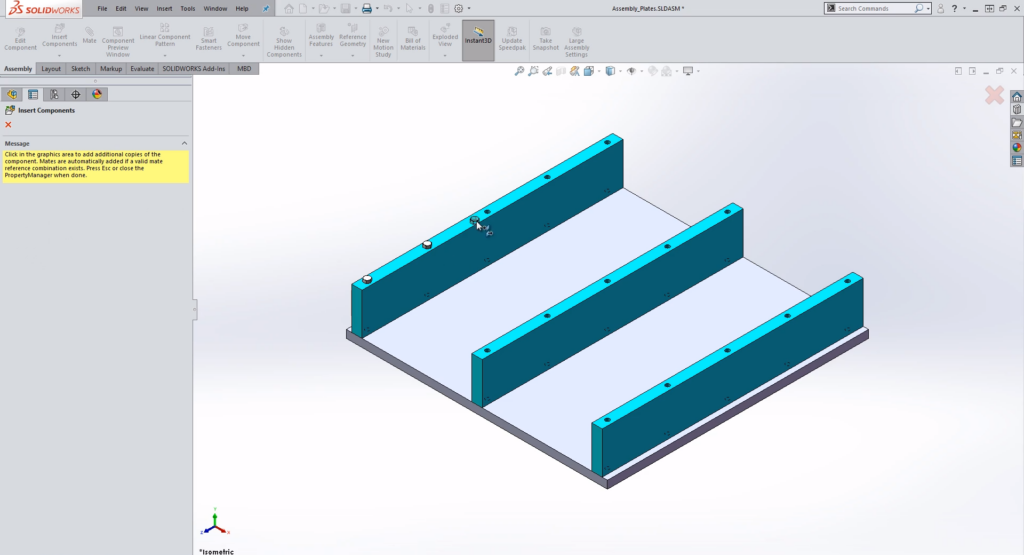
Mastering Toolbox Components in SolidWorks: A Comprehensive Guide to Streamlining Design Workflows

SolidWorks, a leading 3D CAD software, offers a robust Toolbox feature that allows designers and engineers to access a vast library of standard components, fasteners, and hardware for use in their designs. Creating toolbox components in SolidWorks is essential for maintaining consistency, efficiency, and accuracy in design workflows. In this comprehensive guide, we will explore the step-by-step process of creating a toolbox component in SolidWorks, covering everything from configuring toolbox settings to customizing components and managing libraries.
1. Understanding Toolbox Components in SolidWorks:
- Toolbox components in SolidWorks are pre-defined standard parts, such as bolts, nuts, washers, screws, and other hardware items.
- They are stored in a centralized library and can be easily inserted into designs to expedite the modeling process.
- Toolbox components are parametrically defined, allowing users to specify various dimensions, configurations, and properties based on standard specifications.
2. Configuring Toolbox Settings:
- Before creating toolbox components, ensure that the Toolbox feature is enabled and configured in SolidWorks.
- Navigate to the Tools menu, select Options, and go to the Hole Wizard/Toolbox section.
- Enable the Toolbox feature and specify the location of the Toolbox library files on your computer.
3. Accessing the Toolbox:
- Once Toolbox is enabled, access the Toolbox library from the Design Library pane in SolidWorks.
- Expand the Toolbox folder to view the available categories of standard components, such as Bolts, Nuts, Screws, Washers, etc.
4. Creating a Custom Toolbox Component:
- To create a custom toolbox component, right-click on the desired category folder and select Add Custom Component.
- The Toolbox Component Properties dialog box will appear, allowing you to specify various parameters and configurations for the component.
- Enter the required information, such as component name, description, part number, material, size, and other relevant details.
5. Defining Component Configurations:
- In the Toolbox Component Properties dialog box, you can define multiple configurations for the custom component.
- Specify different sizes, lengths, thread types, and other variations to accommodate various design requirements.
- SolidWorks automatically generates configuration-specific part numbers and descriptions based on the defined parameters.
6. Customizing Component Geometry:
- Customize the geometry of the toolbox component by adjusting dimensions, features, and properties in the SolidWorks model environment.
- Use standard SolidWorks modeling tools, such as sketches, features, and mates, to create the desired geometry for the component.
- Ensure that the model meets standard specifications and dimensional tolerances for the selected component type.
7. Adding Custom Properties:
- Incorporate custom properties into the toolbox component to provide additional information and metadata.
- Define properties such as manufacturer, part number, weight, finish, and other relevant details to facilitate documentation and management.
- SolidWorks allows users to create custom property fields and assign values to them for each component configuration.
8. Saving and Managing Toolbox Components:
- Once the custom toolbox component is defined, save it to the Toolbox library for future use.
- Specify the category, subcategory, and folder location within the Toolbox library to organize the component effectively.
- SolidWorks provides tools for managing and updating toolbox components, including options for renaming, copying, moving, and deleting components as needed.
9. Using Toolbox Components in Designs:
- After creating and saving toolbox components, they can be easily inserted into SolidWorks designs.
- Access the Toolbox library from the Design Library pane and drag the desired component into the assembly or part document.
- SolidWorks automatically inserts the component with the specified configuration and properties, ready for use in the design.
10. Conclusion:
- Creating toolbox components in SolidWorks is a fundamental aspect of streamlining design workflows and ensuring consistency in modeling practices.
- By following the steps outlined in this guide and leveraging SolidWorks’ Toolbox feature, users can create custom components tailored to their specific design requirements and standards.
- Whether designing mechanical assemblies, machinery, or structural systems, SolidWorks’ Toolbox empowers users to expedite the design process and focus on innovation and creativity.


