Crafting Professional Letterheads in MS Word: A Comprehensive Guide
Introduction: A well-designed letterhead adds a touch of professionalism and branding to your correspondence, whether you’re sending business letters, memos, or official documents. Microsoft Word provides powerful tools and features to create customized letterheads that reflect your organization’s identity and enhance your communication efforts. In this comprehensive guide, we’ll explore step-by-step instructions, tips, and best practices for creating stunning letterheads in MS Word, allowing you to make a memorable impression with every piece of correspondence.
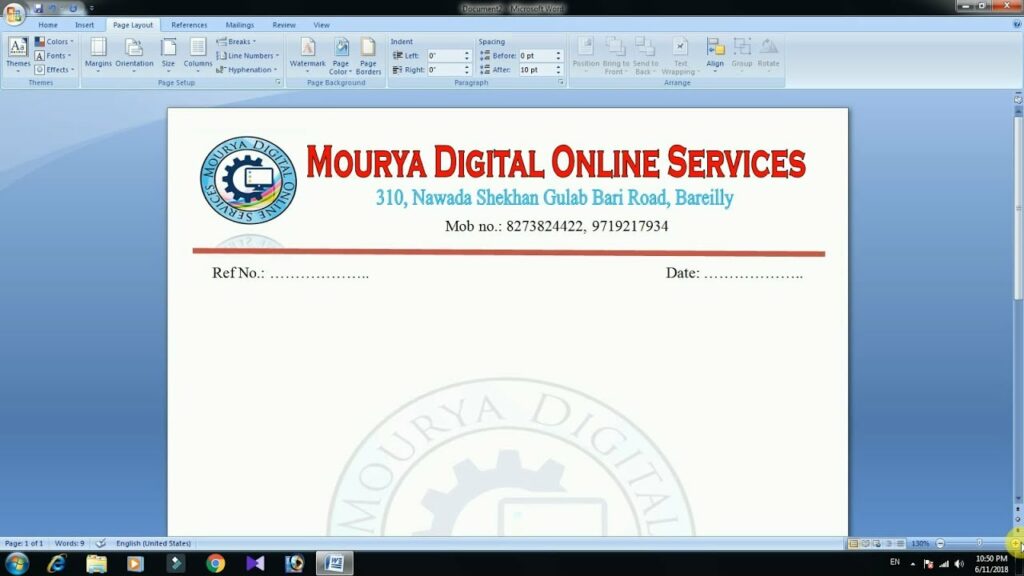
Understanding the Importance of a Letterhead: A letterhead serves as the header section of a document, typically containing the organization’s name, logo, contact information, and any other relevant branding elements. Beyond its aesthetic appeal, a letterhead conveys professionalism, credibility, and consistency in your communications. It helps establish your brand identity, reinforces your organization’s image, and creates a sense of trust and reliability among recipients.
Key Components of a Letterhead: Before we delve into the process of creating a letterhead in MS Word, let’s identify the essential components that make up a well-designed letterhead:
- Organization Name and Logo: The organization’s name and logo are the focal points of the letterhead, providing instant recognition and branding. Ensure that your logo is high-quality and properly sized for optimal visibility.
- Contact Information: Include relevant contact details such as the organization’s address, phone number, email address, and website URL. This information allows recipients to easily reach out to your organization for inquiries or follow-ups.
- Design Elements: Incorporate design elements such as colors, fonts, borders, and graphics that align with your organization’s branding guidelines. Consistency in design reinforces brand identity and enhances visual appeal.
- White Space: Use white space strategically to create balance and readability in your letterhead. Avoid overcrowding the design with excessive text or graphics, as it may detract from the overall impact.
Creating a Letterhead in MS Word: Now, let’s walk through the step-by-step process of creating a professional letterhead in MS Word:
Step 1: Open Microsoft Word
- Launch Microsoft Word and open a new blank document to begin creating your letterhead.
Step 2: Set Page Layout
- Go to the “Layout” or “Page Layout” tab on the Ribbon.
- Adjust the page margins, orientation (portrait or landscape), and paper size according to your preferences and printing requirements.
Step 3: Insert Header Section
- Double-click at the top of the page to access the header section.
- Alternatively, go to the “Insert” tab on the Ribbon and click on “Header” to insert a predefined header template.
- Design your custom header by adding text, images, or other elements using the built-in formatting options.
Step 4: Add Organization Name and Logo
- Type the organization’s name at the top of the header section using a prominent font size and style.
- Insert the organization’s logo next to the name, ensuring it is aligned and sized appropriately.
- Use the “Format Picture” or “Picture Tools” options to adjust the logo’s properties such as size, position, and alignment.
Step 5: Include Contact Information
- Below the organization’s name and logo, add the contact information such as the address, phone number, email address, and website URL.
- Format the contact details using a consistent font style and size for clarity and readability.
Step 6: Customize Design Elements
- Enhance the visual appeal of your letterhead by incorporating design elements such as colors, borders, and graphics.
- Experiment with different font styles, sizes, and colors to create a cohesive and visually appealing design.
- Use the “Format” or “Drawing Tools” options to adjust the appearance of text and graphics, including fill colors, borders, shadows, and effects.
Step 7: Review and Finalize
- Review the layout, content, and design of your letterhead to ensure accuracy, consistency, and professionalism.
- Make any necessary adjustments or revisions to fine-tune the appearance of your letterhead.
- Save the document as a template or in a reusable format for future use.
Advanced Customization Techniques: In addition to the basic steps outlined above, MS Word offers several advanced customization techniques for creating letterheads:
- Using Themes and Styles: Apply pre-designed themes and styles from the “Design” tab on the Ribbon to quickly customize the appearance of your letterhead. Themes include coordinated sets of fonts, colors, and effects that can give your letterhead a polished and professional look.
- Adding Watermarks: Insert watermarks such as “Confidential” or “Draft” in the background of your letterhead to convey additional information or branding. Go to the “Design” tab on the Ribbon and click on “Watermark” to choose from built-in options or create a custom watermark.
- Incorporating SmartArt and Shapes: Use SmartArt graphics and shapes to create visually appealing diagrams, charts, or illustrations that complement your letterhead design. Go to the “Insert” tab on the Ribbon and explore the “SmartArt” and “Shapes” galleries to find suitable elements for your design.
- Saving as a Template: Save your custom letterhead as a template (.dotx) file for easy reuse and distribution. Go to the “File” tab, click on “Save As,” and choose the “Word Template (*.dotx)” option to save your letterhead as a template file.
Best Practices for Designing Letterheads: To create effective and professional-looking letterheads in MS Word, consider the following best practices:
- Keep it Simple: Avoid cluttering your letterhead with excessive text, graphics, or design elements. Focus on essential information and maintain a clean and uncluttered layout for readability and visual appeal.
- Use High-Quality Graphics: Ensure that your organization’s logo and any other graphics used in the letterhead are high-resolution and properly scaled for optimal printing quality.
- Align Elements Consistently: Maintain consistent alignment and spacing between text and graphics to create a cohesive and visually pleasing layout. Use alignment guides and gridlines to ensure precision and symmetry in your design.
- Choose Legible Fonts: Select fonts that are clear, legible, and professional-looking for your letterhead. Avoid decorative or overly stylized fonts that may be difficult to read, especially in smaller sizes or when printed.
- Test Print: Before finalizing your letterhead design, test print a sample to check for any formatting or layout issues. Adjust the design as needed to ensure compatibility with different printers and paper sizes.
Conclusion: Creating a professional letterhead in MS Word is a straightforward process that allows you to showcase your organization’s identity and enhance the visual appeal of your correspondence. By following the step-by-step instructions and best practices outlined in this guide, you can design custom letterheads that leave a lasting impression on your recipients. Whether you’re representing a business, organization, or personal brand, a well-designed letterhead can elevate your communication efforts and convey professionalism, credibility, and consistency in your interactions. So next time you’re drafting a letter or memo in MS Word, take the time to craft a custom letterhead that reflects your brand identity and makes a memorable impression.


