Mastering AutoCAD: A Comprehensive Guide to Drawing Circles and Arcs
In the intricate world of computer-aided design (CAD), the ability to draw circles and arcs with precision and accuracy is essential for creating detailed and professional-quality drawings. Whether you’re an architect, engineer, designer, or drafting professional, mastering the art of drawing circles and arcs in AutoCAD will empower you to bring your design concepts to life with efficiency and finesse. In this comprehensive guide, we’ll explore the tools and techniques for drawing circles and arcs in AutoCAD, discuss their applications and functionalities, and provide step-by-step instructions to help you hone your drafting skills and unlock new possibilities in your design projects.
Understanding Circles and Arcs in AutoCAD:
Before delving into the specifics of drawing circles and arcs in AutoCAD, it’s essential to understand the characteristics and properties of these fundamental geometric shapes:
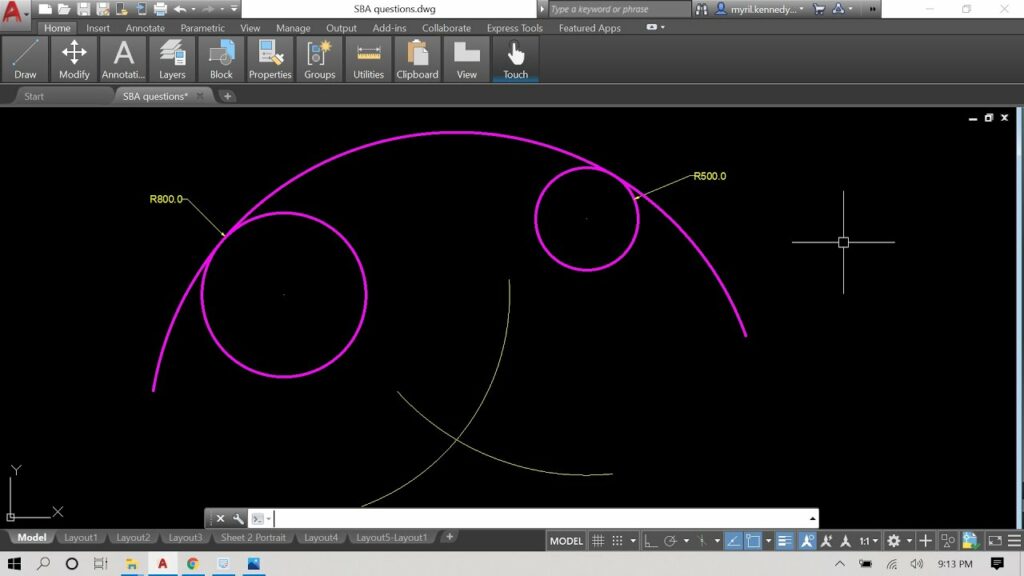
- Circles: In AutoCAD, a circle is a closed curve defined by a set of points that are equidistant from a central point, known as the center of the circle. Circles have a constant radius, which is the distance from the center to any point on the circumference, and can be used to represent cylindrical features, round objects, or curved paths in a drawing.
- Arcs: An arc is a portion of a circle’s circumference, defined by a start point, an endpoint, and a radius. Arcs can be full circles (360 degrees) or partial arcs of varying lengths and angles, and they are commonly used to represent curved or angular features in a drawing, such as door swings, fillets, or profile contours.
Drawing Circles in AutoCAD:
AutoCAD offers several methods for drawing circles, each suited to different workflow preferences and drawing requirements. Here’s how to draw circles in AutoCAD using the Circle tool:
- Using the Circle Command:
- Launch AutoCAD and open a new or existing drawing file.
- Navigate to the Home tab on the Ribbon and click on the Circle tool icon in the Draw panel.
- Specify the center point of the circle by clicking in the drawing area or entering precise coordinates.
- Specify the radius or diameter of the circle by clicking in the drawing area or entering a numerical value.
- Press Enter to finish drawing the circle.
- Using Object Snaps:
- Take advantage of object snaps (OSNAP) to accurately locate the center point or other points on existing objects in the drawing, such as endpoints, midpoints, intersections, and centers.
- Using Polar Tracking:
- Utilize polar tracking to constrain the radius or diameter of the circle to specified angles relative to the current drawing orientation.
Drawing Arcs in AutoCAD:
Drawing arcs in AutoCAD allows you to create curved or angular features with precision and control. Here’s how to draw arcs in AutoCAD using the Arc tool:
- Using the Arc Command:
- Launch AutoCAD and open a new or existing drawing file.
- Navigate to the Home tab on the Ribbon and click on the Arc tool icon in the Draw panel.
- Specify the start point of the arc by clicking in the drawing area or entering precise coordinates.
- Specify the endpoint of the arc by clicking in the drawing area or entering a numerical value.
- Specify the radius or angle of the arc by clicking in the drawing area or entering a numerical value.
- Press Enter to finish drawing the arc.
- Creating Arc Segments:
- To create arc segments within a polyline or closed shape, use the Arc option in the Polyline command and specify the start point, endpoint, and radius of the arc.
- Using Object Snaps and Polar Tracking:
- Similar to drawing circles, take advantage of object snaps and polar tracking to accurately locate points on existing objects and constrain the angle or radius of the arc.
Best Practices for Drawing Circles and Arcs:
To maximize efficiency and precision when drawing circles and arcs in AutoCAD, consider implementing the following best practices:
- Plan Your Drawing: Before starting a new drawing, plan and visualize the layout, dimensions, and elements that require circles and arcs. This will help streamline the drawing process and ensure accuracy and consistency.
- Use Object Snaps and Polar Tracking: Take advantage of object snaps and polar tracking to accurately locate points and constrain the size and orientation of circles and arcs. This will ensure precise alignment and positioning of drawing elements.
- Practice Precision: Strive for precision and accuracy in your drawings by using precise measurements, angles, and coordinates. Take advantage of AutoCAD’s precision tools and grid settings to achieve accurate results.
- Experiment and Explore: Take the time to explore the various drawing tools, commands, and settings available in AutoCAD for creating circles and arcs. Experiment with different techniques and workflows to discover new ways to optimize your drafting process.
Conclusion:
Mastering the art of drawing circles and arcs in AutoCAD is essential for creating precise, detailed, and professional-quality drawings in various industries and applications. By understanding the functionalities of drawing tools, practicing their use in different design scenarios, and implementing best practices for efficiency and accuracy, you can elevate your drafting skills and unlock new possibilities in your design projects. Whether you’re sketching cylindrical features, profile contours, or angular details, knowing how to draw circles and arcs effectively will enable you to produce high-quality drawings with confidence and precision. With dedication, practice, and a commitment to continuous learning, you’ll become proficient in drawing circles and arcs in AutoCAD and excel in your CAD design endeavors.


