Mastering the Gradient Tool: A Comprehensive Guide to Using the Gradient Tool in Adobe Illustrator
Introduction: The Gradient Tool in Adobe Illustrator is a powerful feature that allows designers to add depth, dimension, and visual interest to their artwork through the application of gradients. Gradients enable smooth transitions between colors, creating dynamic and vibrant effects in illustrations, logos, typography, and more. In this extensive guide, we’ll explore the step-by-step process of using the Gradient Tool in Adobe Illustrator, covering everything from basic gradient application to advanced techniques, with practical tips and creative insights along the way.
Part 1: Understanding Gradients
- Introduction to Gradients: Gradients are gradual transitions between two or more colors that can be applied to objects and shapes in Adobe Illustrator. Gradients can be linear, radial, or angular, allowing for a variety of effects and styles.
- Types of Gradients: Adobe Illustrator offers various types of gradients, including linear gradients, radial gradients, and freeform gradients. Each type has its own properties and characteristics, offering flexibility and versatility in gradient application.
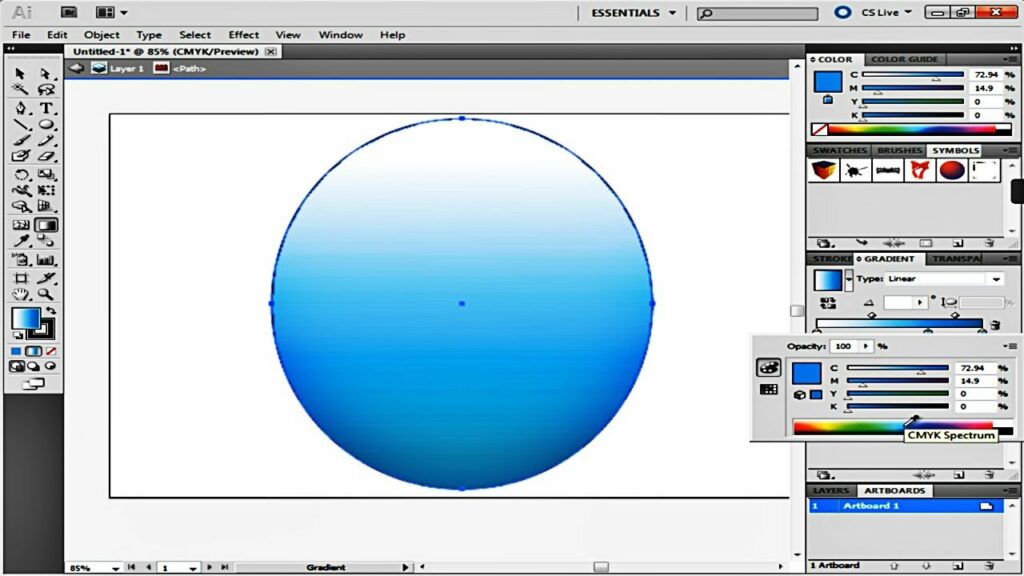
Part 2: Applying Basic Gradients
- Using the Gradient Panel: Start by selecting an object or shape in Adobe Illustrator and accessing the Gradient panel. Choose the type of gradient you want to apply, then select the colors and adjust the angle and position of the gradient as desired.
- Applying Gradient Swatches: Alternatively, apply predefined gradient swatches from the Swatches panel to quickly add gradients to your artwork. Experiment with different swatches to find the perfect gradient for your design.
Part 3: Customizing Gradient Properties
- Adjusting Gradient Stops: Fine-tune the appearance of gradients by adjusting the position and color of gradient stops in Adobe Illustrator. Drag gradient stops along the gradient slider to control the distribution and intensity of colors.
- Adding Transparency and Opacity: Incorporate transparency and opacity effects into gradients to create subtle fades and blends. Adjust the opacity of gradient stops or apply opacity masks to control the visibility of underlying artwork.
Part 4: Creating Complex Gradients
- Using Gradient Mesh: Explore advanced gradient techniques with Gradient Mesh in Adobe Illustrator. Create custom mesh grids over objects and shapes to apply intricate color blends and shading effects with precise control.
- Experimenting with Blend Modes: Combine gradients with blend modes to create unique and dynamic effects. Experiment with blend modes such as Multiply, Overlay, and Screen to achieve different blending results and enhance the overall visual impact of your artwork.
Part 5: Tips for Optimization and Efficiency
- Saving Gradient Swatches: Save custom gradient swatches in Adobe Illustrator for quick and easy access in future projects. Organize swatches into libraries and categories to streamline your workflow and maintain consistency in gradient usage.
- Using Global Colors: Apply global colors to gradient swatches to maintain consistency and make global changes to gradient colors across your artwork. Global colors ensure that updates to color values are automatically reflected in all instances of the gradient swatch.
Conclusion
The Gradient Tool in Adobe Illustrator is a versatile and essential feature for adding depth, dimension, and visual interest to artwork. By mastering the techniques and tips outlined in this guide, you’ll be equipped with the knowledge and skills to create stunning gradients that elevate your designs to new heights. Remember to experiment, practice, and explore new techniques to continually refine your gradient skills in Adobe Illustrator. With dedication and creativity, you can use gradients to enhance the visual impact of your artwork and captivate viewers with vibrant and dynamic color transitions.


