Mastering Masking: A Comprehensive Guide to Using Masks in Adobe After Effects
Introduction:
Masks are fundamental tools in Adobe After Effects that allow users to selectively hide, reveal, or manipulate specific areas of a layer or composition. Whether you’re creating visual effects, compositing footage, or animating elements, masks play a crucial role in controlling the visibility and appearance of objects and layers. In this extensive guide, we’ll delve deep into the world of masking in Adobe After Effects, covering everything from basic techniques to advanced tips and tricks for harnessing the full power of masks in your projects.
Understanding Masks in Adobe After Effects:
In Adobe After Effects, masks are essentially shapes or paths that define the visibility of layers or specific areas within layers. Masks can be applied to individual layers, adjustment layers, or even effects to control their appearance, transparency, or visibility. There are several types of masks in After Effects, including:
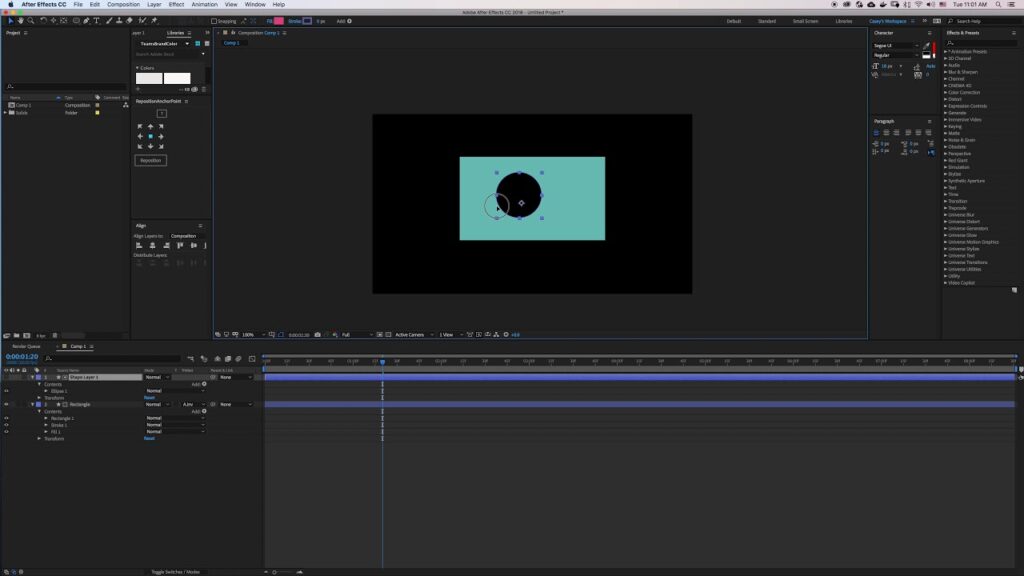
- Shape Masks: Shape masks are created using the shape tools (such as rectangle, ellipse, or polygon) in the toolbar. These masks are vector-based and can be easily modified and animated using keyframes.
- Pen Tool Masks: Pen tool masks are created using the Pen tool, allowing users to draw custom shapes and paths directly on the layer or composition. Pen tool masks offer precise control and flexibility for creating complex shapes and outlines.
- Roto Brush Masks: Roto Brush masks are created using the Roto Brush tool, which allows users to automatically select and isolate objects or subjects within footage. Roto Brush masks are ideal for separating foreground elements from the background and creating detailed mattes for compositing.
- Track Matte Masks: Track matte masks are created using alpha channels or other layers to define the visibility of a layer based on the luminance or transparency of another layer. Track matte masks are commonly used for compositing and creating dynamic transitions.
Key Components of Using Masks in Adobe After Effects:
Understanding the key components of using masks in Adobe After Effects is essential for achieving precise and effective results. Some key components include:
- Mask Paths: Mask paths define the shape and outline of a mask, determining which areas of the layer are visible or hidden. Mask paths can be edited and animated using keyframes to create dynamic effects and transitions.
- Mask Feathering: Mask feathering controls the softness or hardness of the mask edges, allowing users to create smooth and natural transitions between masked and unmasked areas. Feathering can be adjusted to blend masks seamlessly with the background or other layers.
- Mask Expansion: Mask expansion controls the size or expansion of the masked area, allowing users to extend or shrink the mask boundaries to achieve the desired effect. Mask expansion is useful for refining mask edges and adjusting the visibility of masked areas.
- Mask Opacity: Mask opacity controls the transparency or opacity of the masked area, allowing users to adjust the visibility of the masked areas independently of the layer opacity. Mask opacity is useful for creating subtle effects or fading transitions between masked and unmasked areas.
Step-by-Step Guide to Using Masks in Adobe After Effects:
Follow these step-by-step instructions to use masks in Adobe After Effects:
- Create a New Composition:
- Launch Adobe After Effects and create a new project.
- Create a new composition by selecting “Composition” > “New Composition” from the menu. Set the composition settings, including resolution, frame rate, and duration, according to your project requirements.
- Import Footage:
- Import the footage or layers you want to work with into your project by selecting “File” > “Import” > “File” from the menu. Alternatively, you can drag and drop files directly into the project panel.
- Apply a Mask:
- Select the layer you want to apply a mask to in the timeline panel.
- Choose one of the masking tools from the toolbar, such as the rectangle, ellipse, or pen tool.
- Click and drag to draw a mask shape directly on the layer in the composition panel. You can adjust the mask shape and size by dragging the control points or modifying the mask path.
- Adjust Mask Properties:
- Select the mask layer in the timeline panel to reveal the mask properties.
- Adjust mask properties such as mask path, feather, expansion, and opacity to achieve the desired effect. You can also animate mask properties using keyframes for dynamic effects and transitions.
- Duplicate and Modify Masks:
- Duplicate the mask layer by selecting it in the timeline panel and pressing Ctrl/Cmd + D.
- Modify the duplicated mask layer by adjusting its properties or editing its shape and size. You can create complex mask shapes and combinations by duplicating and modifying masks as needed.
- Combine Masks with Effects:
- Apply effects to the layer and combine them with masks to create unique and compelling visual effects. Experiment with effects such as blurs, glows, color corrections, and distortions to enhance the masked areas and achieve the desired look and feel.
- Animate Masks:
- Animate mask properties such as mask path, feather, expansion, and opacity using keyframes to create dynamic effects and transitions. Use the graph editor to fine-tune the animation curves and achieve smooth and natural movements.
- Preview and Refine:
- Preview the masked layer in the composition panel to assess its appearance and quality. Scrub through the timeline or play the composition to see how the masks interact with the layer and other elements.
- Make any necessary adjustments or refinements to the mask properties, animation, or effects to achieve the desired result.
- Render and Export:
- Once you’re satisfied with the masked layer, render the composition by selecting “Composition” > “Add to Render Queue” from the menu. Configure render settings such as format, codec, resolution, and bitrate, and click “Render” to export the final composition with the masks applied.
Best Practices for Using Masks in Adobe After Effects:
To achieve optimal results when using masks in Adobe After Effects, consider the following best practices:
- Plan Ahead: Plan your masking strategy in advance and storyboard the sequence to establish the placement, shape, and timing of your masks. This helps streamline the masking process and ensures a cohesive and coherent visual presentation.
- Use Adjustment Layers: Apply masks to adjustment layers to affect multiple layers or effects simultaneously. Adjustment layers allow you to create complex effects and treatments without affecting the original layers directly.
- Experiment with Mask Modes: Explore different mask modes, such as add, subtract, intersect, and exclude, to create complex shapes and interactions between masks. Mask modes allow you to combine masks in various ways to achieve the desired effect.
- Refine Mask Edges: Use the mask feather and expansion properties to refine the edges of your masks and create smooth transitions between masked and unmasked areas. Experiment with different feathering and expansion values to achieve the desired look and feel.
- Utilize Alpha Channels: Take advantage of alpha channels and track mattes to create advanced masking effects and compositing techniques. Alpha channels allow you to define transparency and opacity for individual layers or effects, enabling complex layering and blending options.
- Animate Masks with Expressions: Use expressions to automate and control mask animations based on mathematical formulas or parameters. Expressions allow you to create dynamic and procedural animations that react to changes in the environment or user input.
- Optimize Performance: Optimize performance by minimizing the number of masks and effects applied to layers, especially when working with complex compositions or high-resolution footage. Use pre-compositions and proxies to streamline the workflow and improve rendering times.
Conclusion:
In conclusion, masks are powerful tools in Adobe After Effects that allow users to selectively hide, reveal, or manipulate specific areas of layers or compositions. By understanding the key components of using masks, mastering masking techniques and controls, and following best practices for using masks, you can achieve precise and effective results that enhance the quality and visual appeal of your projects. So, dive into the world of masking, experiment with different techniques and effects, and unlock the full potential of Adobe After Effects to create stunning and visually compelling compositions with masks.


