Mastering Precision: A Comprehensive Guide to Adding a Brightness/Contrast Adjustment Layer in Photoshop
Introduction:
Adobe Photoshop, the industry-standard for digital image editing, provides a versatile array of tools to enhance and transform images. Among these tools, the Brightness/Contrast adjustment layer stands out as a powerful means to finely tune the luminance and contrast of an image. In this extensive guide, we will delve into the intricacies of adding a Brightness/Contrast adjustment layer in Photoshop, exploring the nuanced techniques, creative applications, and advanced functionalities of this essential feature.
I. Understanding Adjustment Layers:
A. Purpose and Versatility:
- Adjustment layers in Photoshop allow non-destructive editing by applying adjustments without altering the original image data.
- Brightness/Contrast adjustment layers offer precision in modifying the overall brightness and contrast.
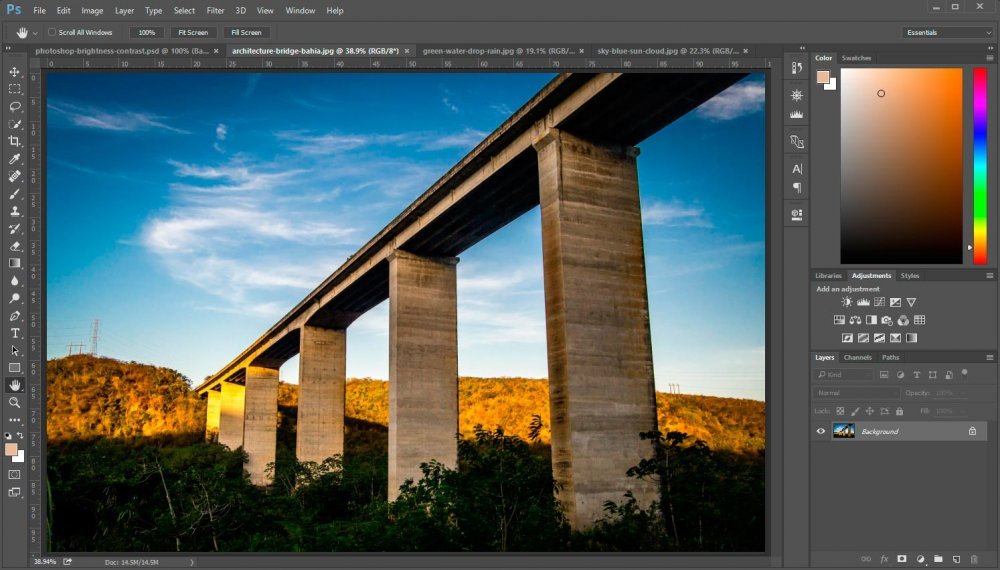
B. Accessing Adjustment Layers:
- Click on the “New Adjustment Layer” icon at the bottom of the Layers panel.
- Select “Brightness/Contrast” from the menu to add a dedicated adjustment layer.
II. Adding a Brightness/Contrast Adjustment Layer:
A. Direct Adjustment Layer Method:
- Open your image in Photoshop.
- Click on the “New Adjustment Layer” icon in the Layers panel.
- Choose “Brightness/Contrast” from the menu.
- The Brightness/Contrast dialog box will appear, featuring sliders for adjustment.
- Adjust the Brightness and Contrast sliders to achieve the desired effect.
- Click “OK” to apply the adjustment layer directly to the image.
B. Adjustment Layer Properties Panel:
- Alternatively, open your image in Photoshop.
- Click on the “New Adjustment Layer” icon in the Layers panel.
- Choose “Brightness/Contrast.”
- Adjust the sliders in the Properties panel, which automatically appears when an adjustment layer is added.
- Fine-tune the settings to achieve the desired brightness and contrast adjustments.
III. Understanding Brightness/Contrast Adjustment Layer Properties:
A. Brightness Slider:
- The Brightness slider controls the overall brightness of the image.
- Positive values increase brightness, while negative values decrease it.
B. Contrast Slider:
- The Contrast slider adjusts the difference between the light and dark areas of the image.
- Positive values increase contrast, while negative values decrease it.
C. Legacy Option:
- The “Use Legacy” option in the Properties panel emulates the behavior of older versions of Photoshop for compatibility.
- It may be useful in certain workflows or if specific effects are desired.
IV. Creative Applications and Techniques:
A. Non-Destructive Editing:
- Adjustment layers provide non-destructive editing, preserving the original image data.
- Experiment freely with adjustments without compromising the integrity of the base image.
B. Layer Mask Integration:
- Utilize layer masks with the Brightness/Contrast adjustment layer for selective application.
- Paint on the mask with black to conceal adjustments in specific areas, providing localized control.
C. Keyframe Animation:
- For dynamic projects, keyframe animation can be applied to Brightness/Contrast adjustments.
- Create keyframes over time to animate changes in brightness and contrast for video or animation projects.
D. Blending Modes:
- Experiment with blending modes for the adjustment layer to achieve unique visual effects.
- Overlay, Soft Light, and other blending modes can enhance the impact of the adjustment.
V. Advanced Functionalities and Tips:
A. Clipping Mask:
- Use a clipping mask to limit the adjustment layer’s effect to a specific layer below it.
- Right-click on the adjustment layer and choose “Create Clipping Mask.”
B. Adjustment Layer Presets:
- Save and reuse custom Brightness/Contrast settings as presets.
- Streamline your workflow by applying predefined adjustments to different images.
C. Opacity and Fill:
- Adjust the opacity or fill of the adjustment layer for subtle blending.
- This is particularly useful when a partial adjustment is desired.
D. Smart Filters:
- Convert the adjustment layer to a Smart Object to apply Smart Filters.
- Smart Filters allow for additional non-destructive adjustments and effects.
VI. Troubleshooting and Refinement:
A. Monitor Clipping:
- Be cautious of clipping, where extreme adjustments result in loss of detail.
- Regularly check the image histogram to ensure optimal tonal range.
B. Iterative Adjustment:
- Apply adjustments iteratively, assessing the impact and refining as needed.
- This allows for a controlled and nuanced approach to image enhancement.
VII. Conclusion: Precision and Artistry in Image Editing
In conclusion, adding a Brightness/Contrast adjustment layer in Photoshop is a fundamental step in refining the luminance and contrast of your images. This comprehensive guide has explored the purpose, techniques, and advanced functionalities of the Brightness/Contrast adjustment layer, providing users with the knowledge and skills to apply precise adjustments while maintaining the integrity of their original images. Whether engaged in non-destructive editing, creative applications, or advanced functionalities, mastering the art of the Brightness/Contrast adjustment layer empowers users to achieve unparalleled precision and artistry in their image editing endeavors. As you navigate the expansive world of image enhancement in Photoshop, the addition of a Brightness/Contrast adjustment layer becomes a crucial element in your toolkit, ensuring that your images radiate with clarity, vibrancy, and visual impact.


